The various objects and their relationships of a Salesforce application can be easily viewed using the Schema builder. And just not viewing, but we can also design, modify and implement new data models using schema builder.
Schema builder has a drag and drop interface which is used to perform all the activities. It shows all the relevant details like – field values, data types, relationship with directions etc.
Accessing Schema Builder
From Setup Home, navigate to Objects and Fields → Object Manager → Schema Builder.

Viewing Objects
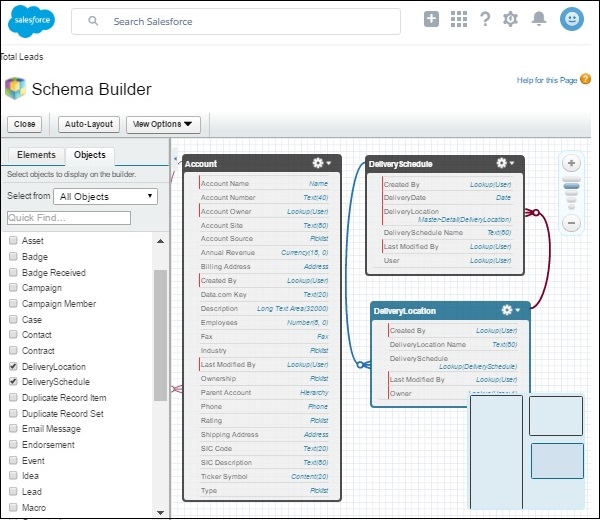
We can see the various objects by selecting them form the left pane. The Element tab represents fields and relationships while the Objects tab represents the standard as well as custom objects.
We have selected three objects named – Account, Delivery Schedule and Delivery Location as shown in the following screenshot.

Changing Objects
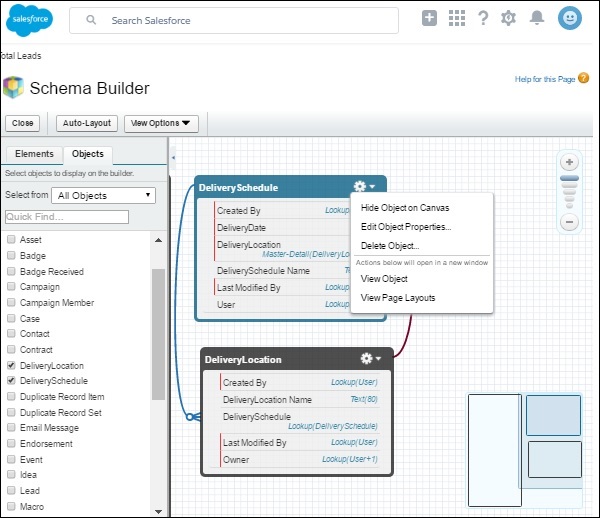
We can work on various schema objects by showing them in the canvas in the right pane. We can only modify the custom objects and cannot modify the standard objects as they are part of the Salesforce platform structure.
In the following screenshot, we can see various actions we can take on the custom schema objects.

Creating Objects
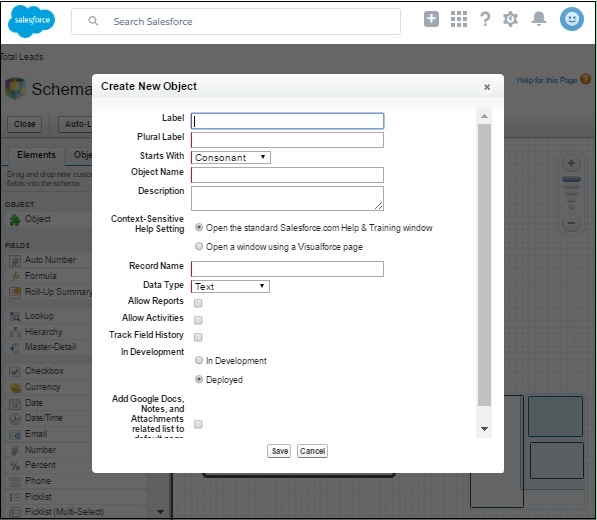
We can create new objects using the schema builder. Go to the Elements Tab. Drag the element named Object into the canvas. It prompts you to fill in the details of the object.
